Email Integration
Configure email notifications to receive incident alerts and Jira ticket updates directly in your inbox.
Overview
The Email Integration allows Ampliserv to send:
- Incident notifications when new incidents occur
- Jira ticket notifications when tickets are created/updated
- Team alerts to multiple recipients
- Status updates for ongoing incidents
Supported Email Providers
🟢 Gmail (Recommended for testing)
- SMTP with app passwords
- Free tier available
🟢 Microsoft 365/Outlook
- Azure AD authentication
- Office 365 SMTP
- Enterprise-ready
Step-by-Step Configuration
Step 1: Access Email Integration
- Login to Ampliserv dashboard
- Navigate to Integrations → Email Notifications
- Click "Configure" button
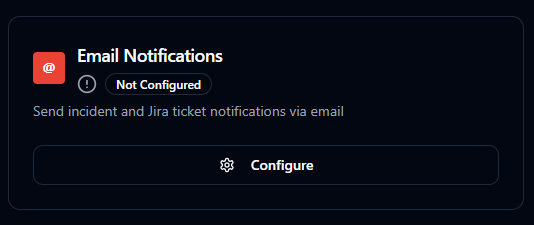
Figure 1: Email integration configuration card
Step 2: Select Email Provider
-
Choose provider from dropdown:
- GMAIL (for Gmail/Google Workspace)
- MICROSOFT (for Microsoft 365/Outlook)
-
Click Continue to see provider-specific fields

Figure 2: Selecting email provider
Provider-Specific Configuration
Option A: Gmail Configuration
Prerequisites for Gmail:
- Google Account with Gmail access
- App Password (for SMTP)
- Sender email address (must match Google account)
Step-by-Step Gmail Setup:
Using App Password
-
Generate App Password:
- Go to Google Account Security
- Enable 2-Step Verification if not already enabled
- Under "Signing in to Google", click "App passwords"
- Name it "Ampliserv Integration"(or whatever you want but try to give a relevant name)
- Copy the 16-character password
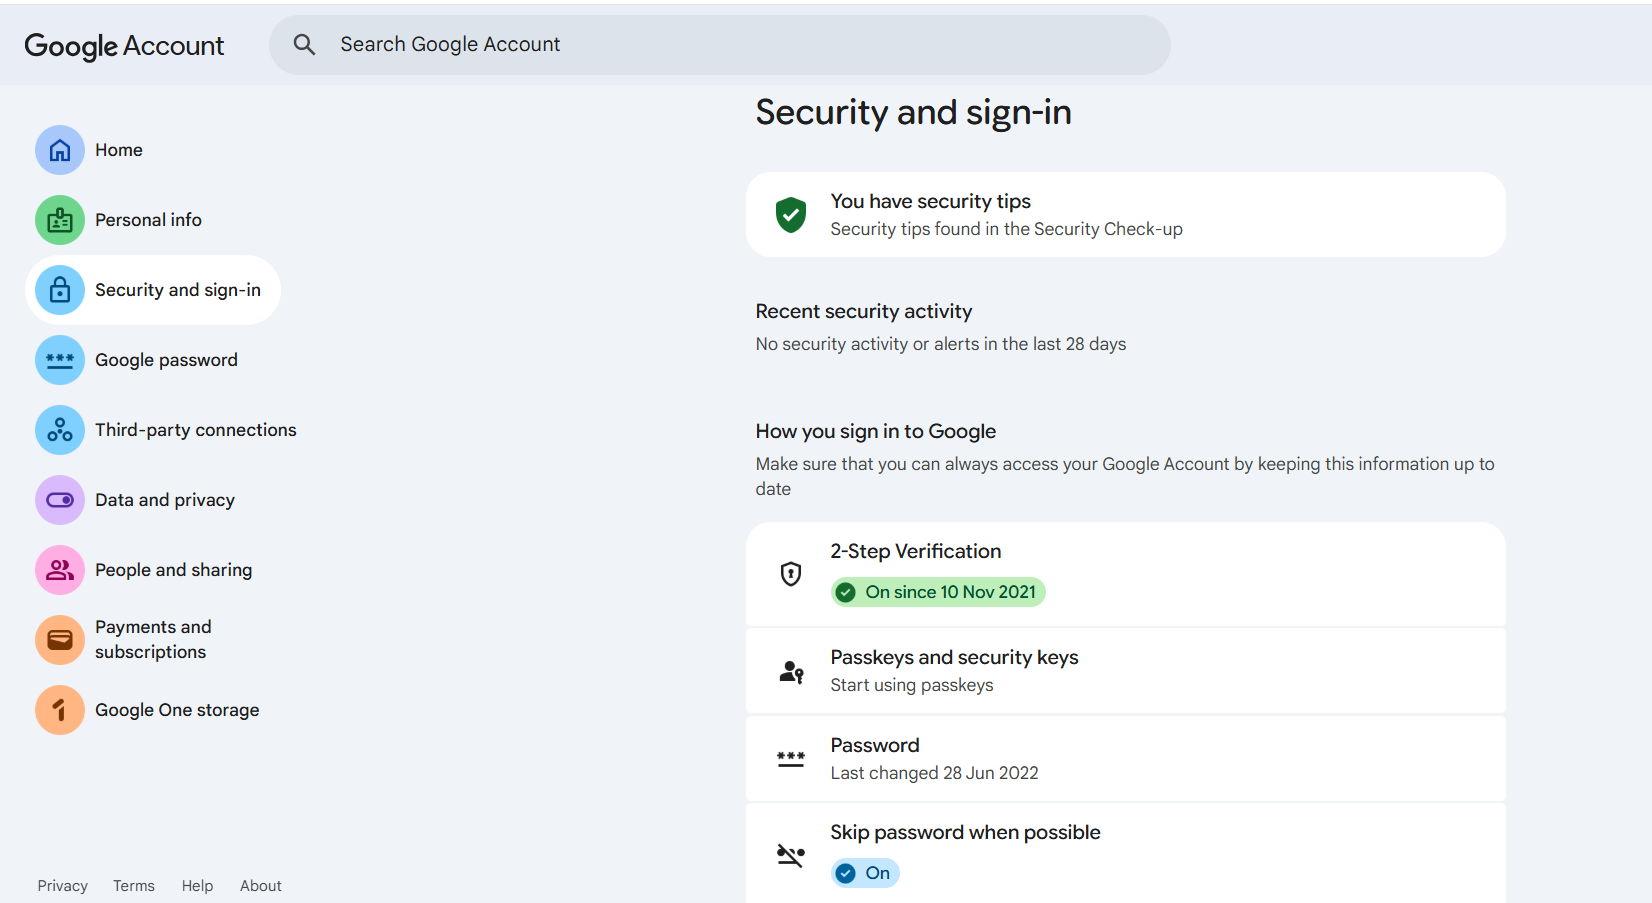 Figure 3: Google security page
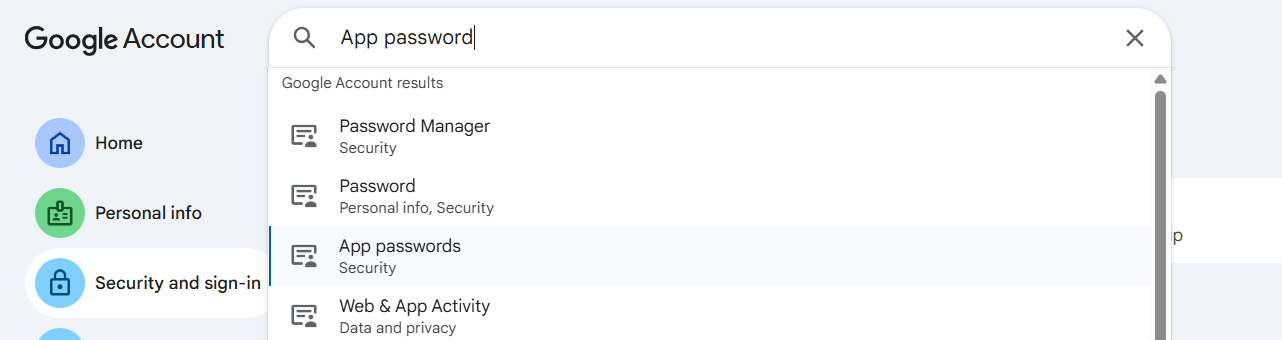 Figure 4: Search for app password
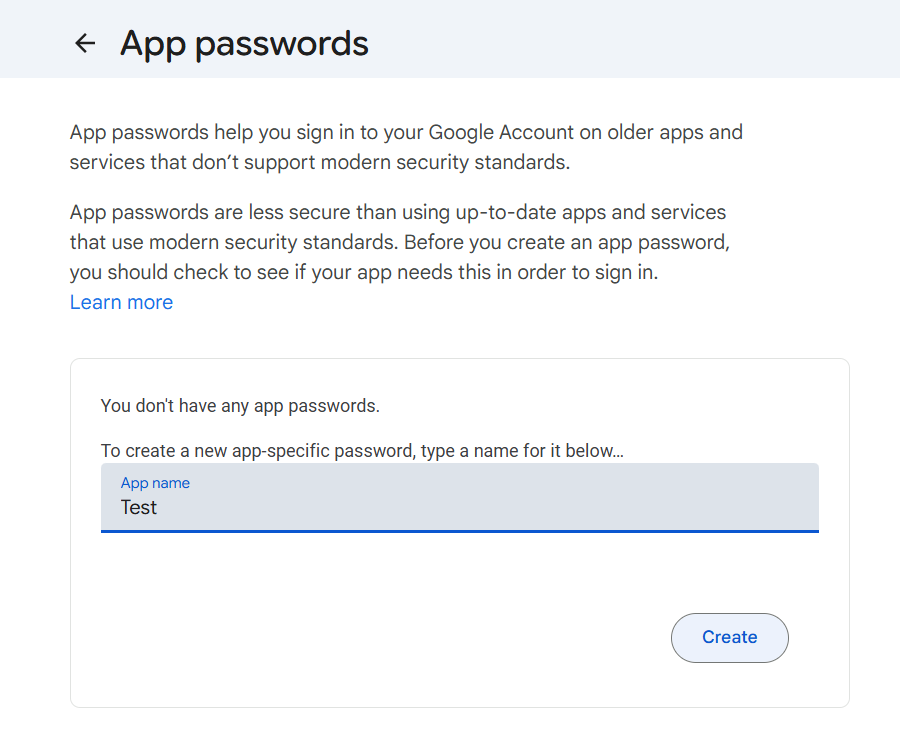 Figure 5: Give app password name
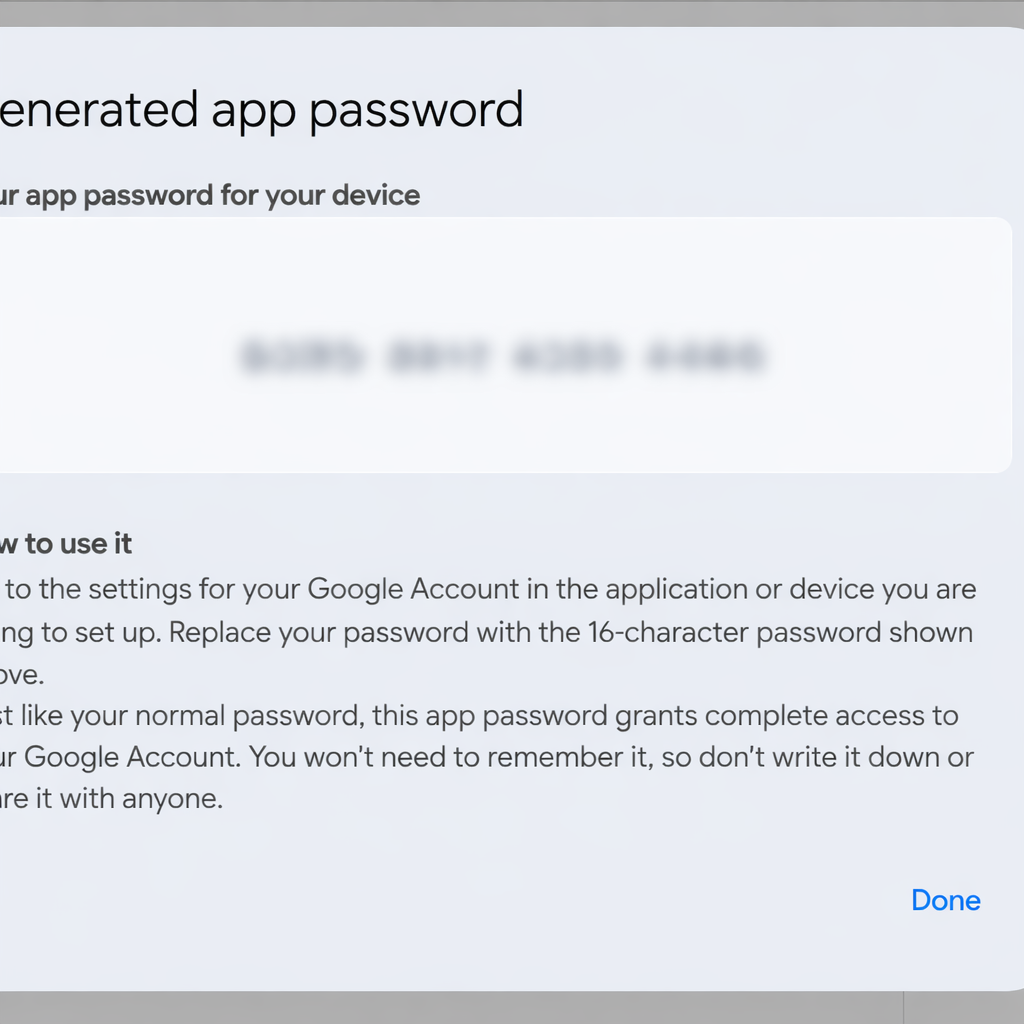
Figure 6: Generating Google app password -
Fill Configuration Fields:
- Sender Email: your.email@gmail.com (must be your authenticated email id through which you have created the app password)
- Sender Name: Your Name
- Gmail App Password: [16-character app password]
Option B: Microsoft 365 Configuration
Prerequisites for Microsoft:
- Microsoft 365/Office 365 account
- Global Administrator access (for app registration)
- Azure AD tenant
Step-by-Step Microsoft Setup:
- Register Azure AD Application:
- Go to Azure Portal
- Navigate to Azure Active Directory → App registrations
- Click "New registration"
- Name: "Ampliserv Email Integration"
- Supported account types: "Accounts in this organizational directory only"
- Redirect URI: Optional(you can add it later)
- Click "Register"
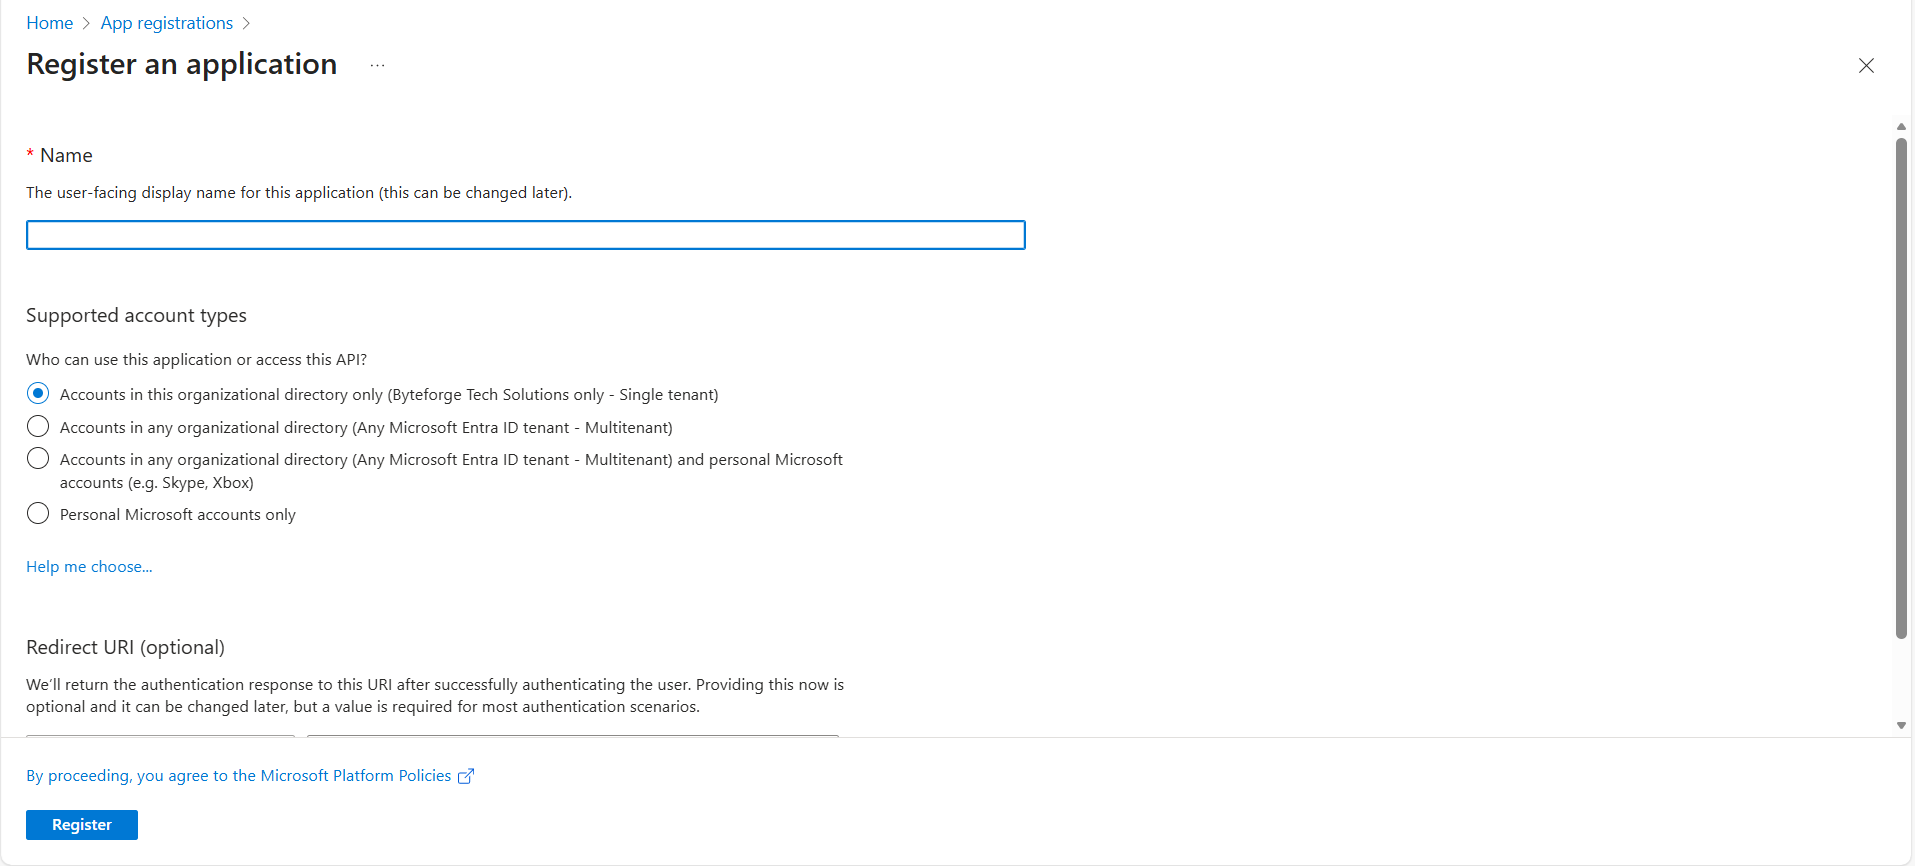 Figure 4: Azure AD app registration
- Configure API Permissions:
- Go to API permissions → Add a permission
- Select Microsoft Graph
- Choose Application permissions
- Add:
Mail.Send(for sending emails) [You can get this permission by collapsing out the 'Mail' section] - Click "Grant admin consent"(If you are not admin then ask admin to grant your permission from Azure portal)
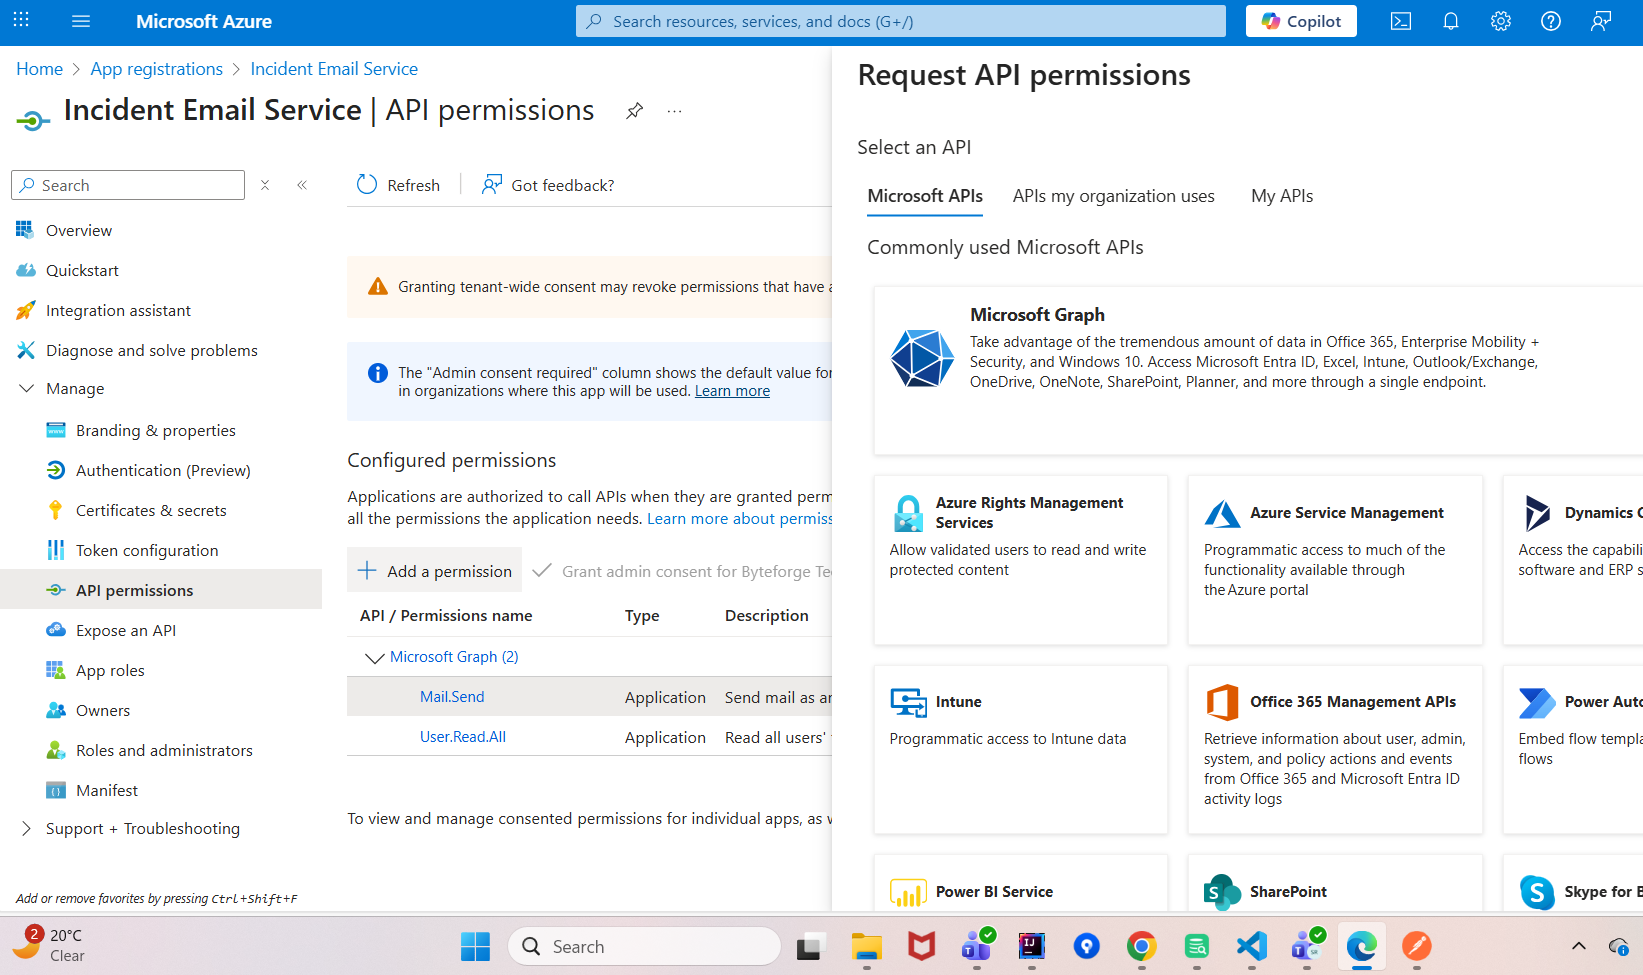 Figure 5: API permission section
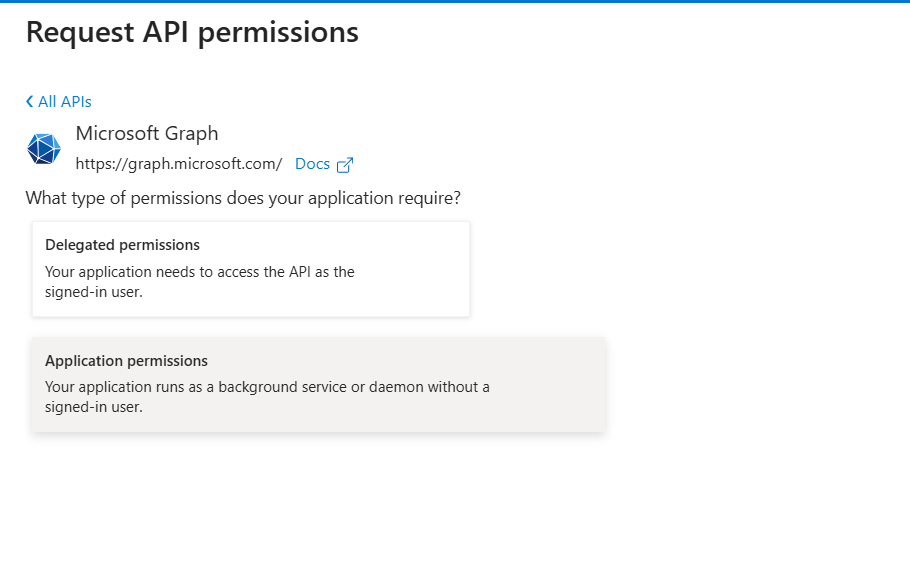 Figure 6: Choose application permission option
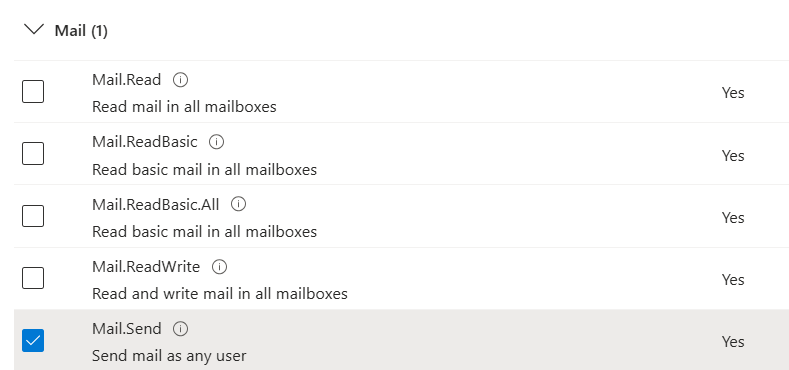 Figure 7: Add mail sending permission
 Figure 8: Add Users read permission
 Figure 9: Click on Add Permission button
- Create Client Secret:
- Go to Certificates & secrets
- Click "New client secret"
- Description: "Ampliserv Integration"
- Expires: 24 months (recommended)
- Copy the secret value (not secret ID)
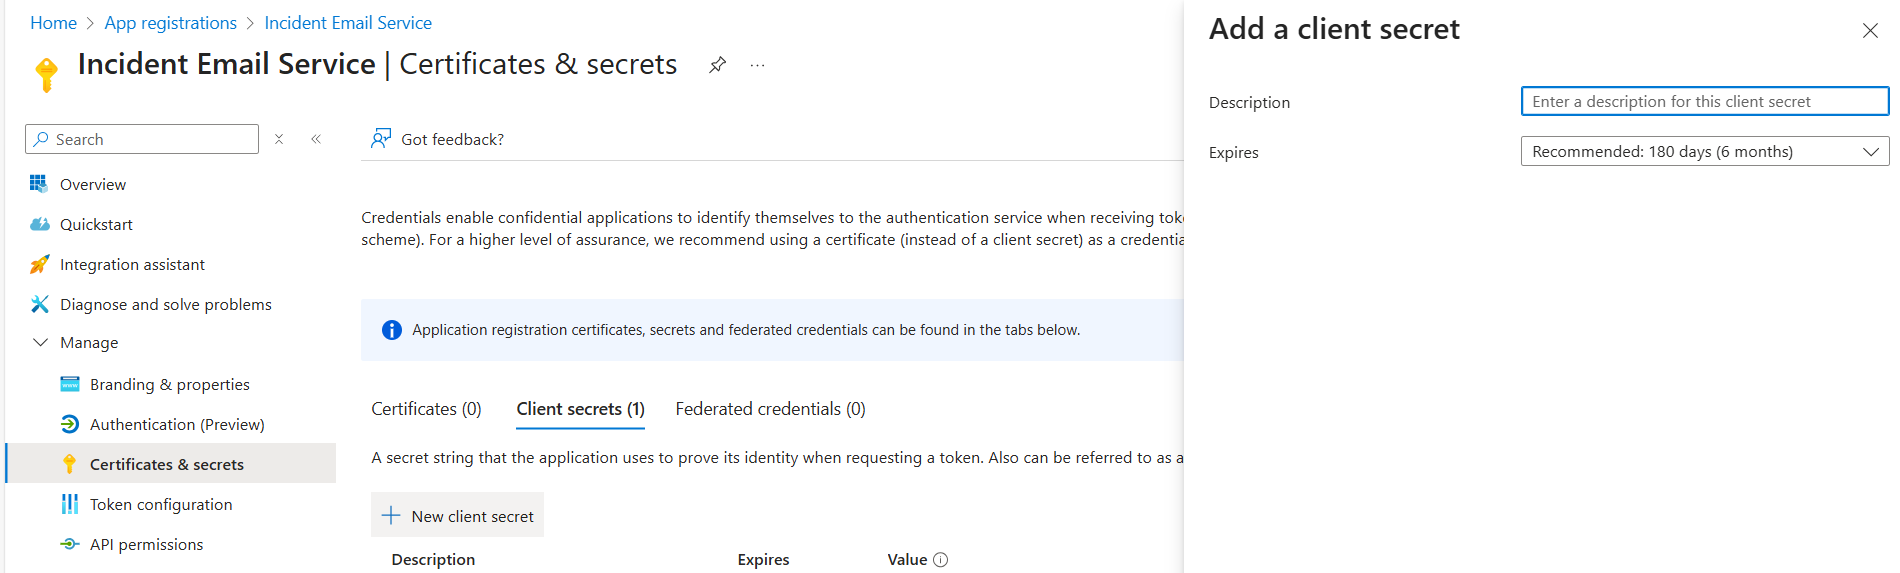 Figure 10: Client secret generation form
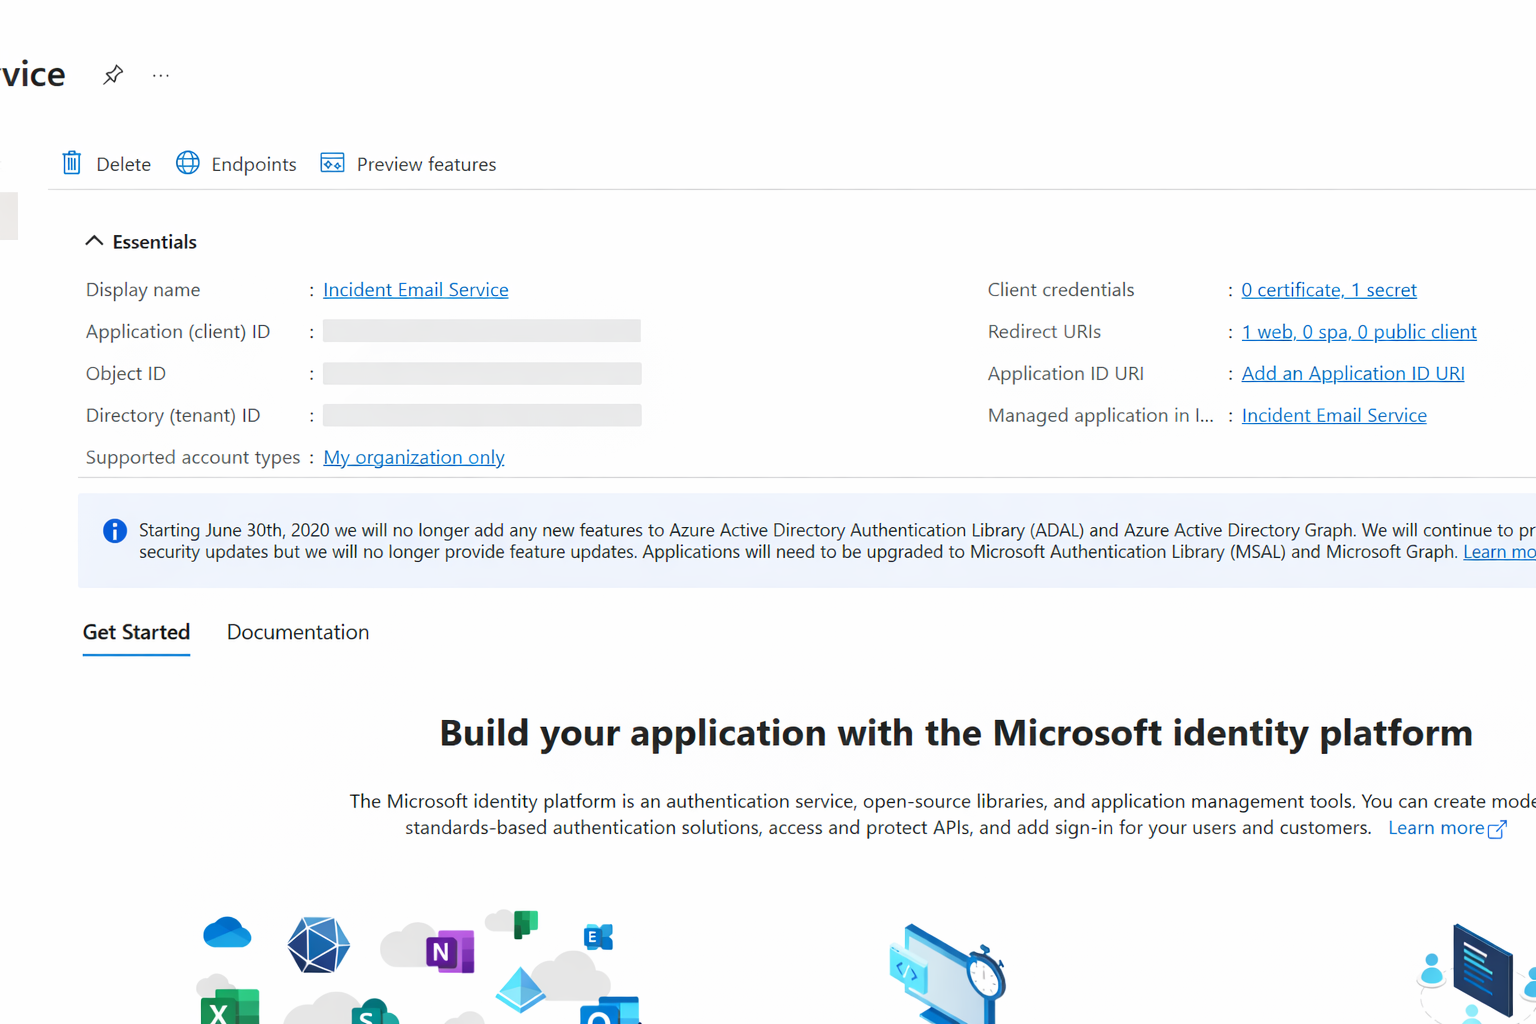
- Get Tenant and Client IDs:
- Tenant ID: From app registration overview page
- Client ID: From app registration overview (Application ID)
⚠️ Note: After a successful app registration, in the App Registration page you will see you registered app. Then after clicking on it you will be redirected to overview page - There you can see both Client ID and Tenant ID
- Fill Configuration Fields:
- Sender Email: sender@yourdomain.com(this will be your teams mail id)
- Sender Name: Your Name(You can give here your name)
- Microsoft Client ID: [your client-id]
- Microsoft Client Secret: [your client secret-value]
- Microsoft Tenant ID: [tenant-id]
Step 3: Configure Email Recipients
Email Categories
- Default Recipients (Required):
- Primary recipients for all notifications
- Use comma or Enter to add multiple emails
- Example:
team@company.com, manager@company.com
- Default CC (Optional):
- Carbon copy recipients
- For informational purposes
- Example:
archive@company.com
- Default BCC (Optional):
- Blind carbon copy recipients
- Not visible to other recipients
- Example:
compliance@company.com
Adding Email Addresses
- Type email in the input field
- Press Enter or comma to add
- Remove by clicking the × button
- Validate emails automatically

Figure 11: Adding email recipients with chips interface
Step 4: Notification Settings
Enable/Disable Notifications
- Send Incident Notifications:
- ✅ Enabled: Emails sent for new incidents
- ❌ Disabled: No emails for incidents
- Send Jira Ticket Notifications:
- ✅ Enabled: Emails when Jira tickets created
- ❌ Disabled: No Jira ticket emails
Recommended Settings
| Use Case | Incident Notifications | Jira Notifications |
|---|---|---|
| Development Team | ✅ Enabled | ✅ Enabled |
| Management | ✅ Enabled | ❌ Disabled |
| Support Team | ✅ Enabled | ✅ Enabled |
| Compliance | ❌ Disabled | ✅ Enabled |
Step 5: Save Configuration
- Review all fields for accuracy
- Click "Save Configuration"
- Wait for verification (green checkmark)
- Status changes to "Connected"

Figure 6: Saving email configuration
Email Format & Content
Incident Notification Email
Subject: [project-name] Incident Report - [Incident ID]
Body:
-
Incident ID: [ID]
-
Project: [Project Name]
-
Correlation ID: [Correlation ID]
-
Status: [Status]
-
Reported At: [Date/Time]
Jira Ticket Notification Email
Subject: [project-name] Jira Ticket Created - [JIRA-123]
Body:
-
Jira Ticket: [JIRA-123]
-
Incident ID: [ID]
-
Project: [project-name]
-
Priority: [priority]
-
Created At: [Date/Time]
-
Jira Ticket Link to View